We may earn money or products from the companies mentioned in this post.
(This post may contain affiliate links and I may earn a small commission when you click on the links at no additional cost to you.)
Dying Easter eggs is just one of those things that seems to be a requirement when it comes to Easter activities. I for one have always LOVED dying Easter eggs. That is at least until kids came into the picture. All of a sudden dying Easter eggs with toddlers became:
- a challenge
- a chore
- and simply too overwhelming
It seemed that I was trying to convince my husband, the kids, and myself that it was fun. And I was failing miserably on all counts. I did however have the strong desire for my kiddos to have the same love of Easter as I do, and that includes the love of coloring eggs.
There is a beauty to it. Taking something white, ordinary, and so simple and creating something of your own. A transformation if you will. Which isn’t that what Easter is all about? Focusing on Jesus Christ, his sacrifice for us, and then becoming more like him.
So I decided I could just suck it up and fight my way through it, or I could find some tricks to truly enjoy this time spent with my children. And you know what? The more fun you have, the more fun your kids are going to have.
So without further ado, here are 8 tips/tricks for dying Easter eggs with you toddlers (and making it enjoyable for everyone):
Tip #1: Cover the Surface
Cover the ENTIRE surface on which you will be working. You can use a vinyl tablecloth (disposable or washable), a disposable paper tablecloth, newspapers, old towels or rags, etc. Just make sure it is something that either won’t absorb water or that you don’t care about if it gets discolored. There’s a very good chance that the dye will not wash out. Protecting the surface will keep anxiety at bay.
This time around I didn’t bother covering my table, because honestly I wouldn’t mind if it got ruined. I’ve been wanting to refinish it and dye stains would give me the perfect excuse to do so.
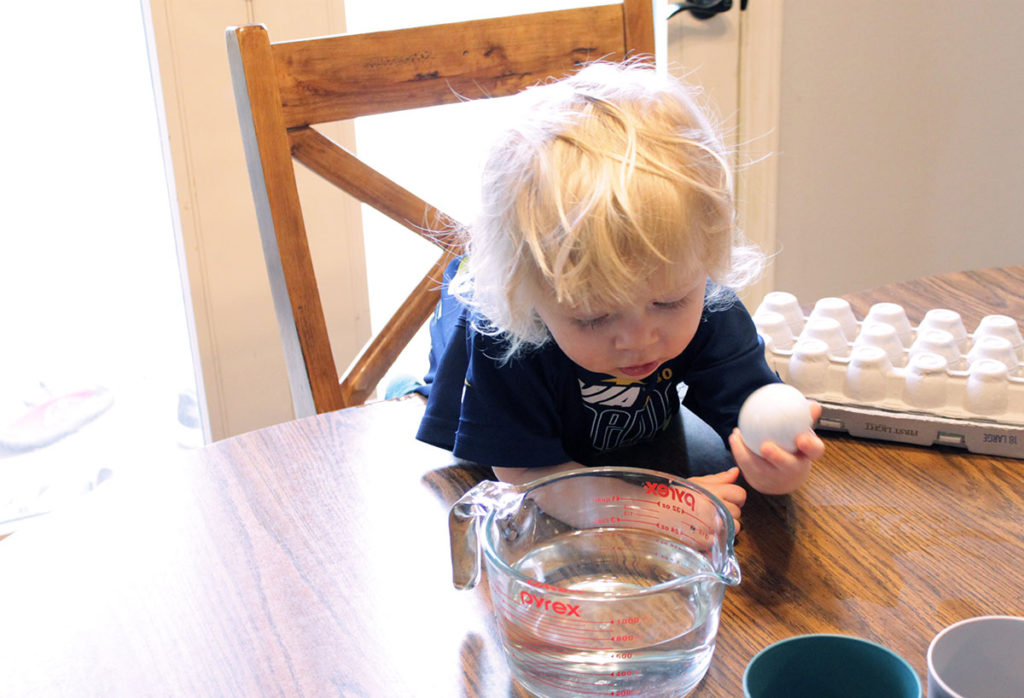
Tip #2: Put Smocks on the Toddlers
This goes along with the first tip and protecting surfaces. Protect your toddler’s clothes, because they will get messy. If you don’t have a smock (which I do not) put them in old clothes. For any messy activity I put Batman in one of his daddy’s old T-shirts, he calls it his “daddy paint shirt”. It covers his pants too, so I don’t have to worry about paint or dye on clothes. The last thing you want is to be having fun and suddenly realize that your toddler’s favorite shirt has dye all over it. That’s a tantrum I just don’t want to deal with!
Tip #3: Pre-Mix the Dye
Toddlers are inpatient AND they always want to help. Combine the two and mixing up colors with the help of a 2-year-old can be disastrous. There are several options when it comes to dyes. You can use an Easter egg coloring kit and dissolve the tablets or you can make your own. I prefer to make my own with vinegar, water, and food coloring. Simply mix ½ cup boiling water, 1 teaspoon white vinegar and food color in a bowl to achieve the desired colors.
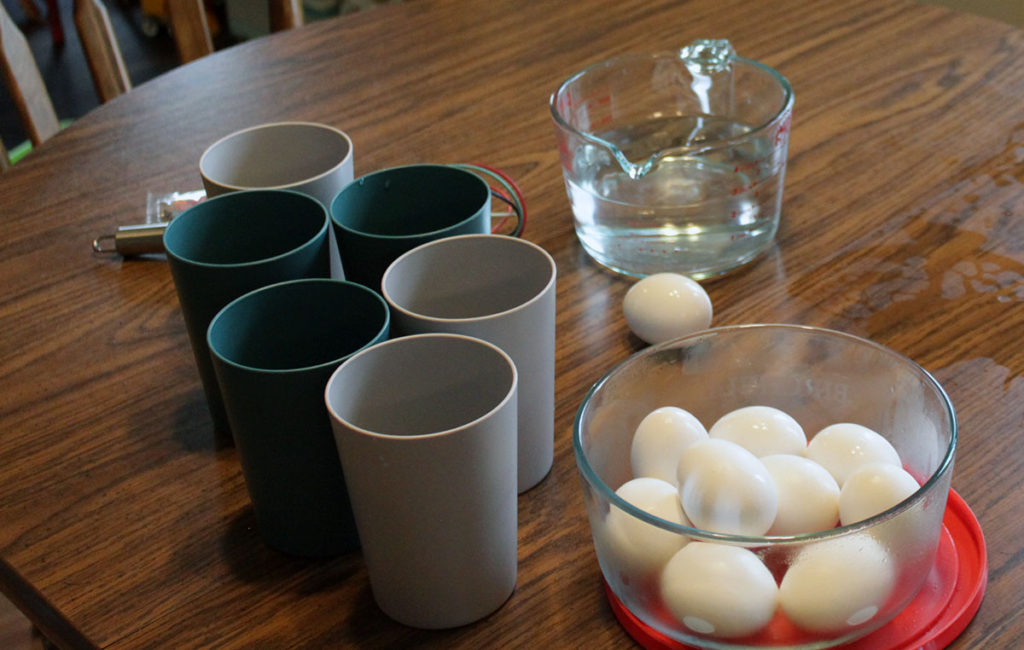
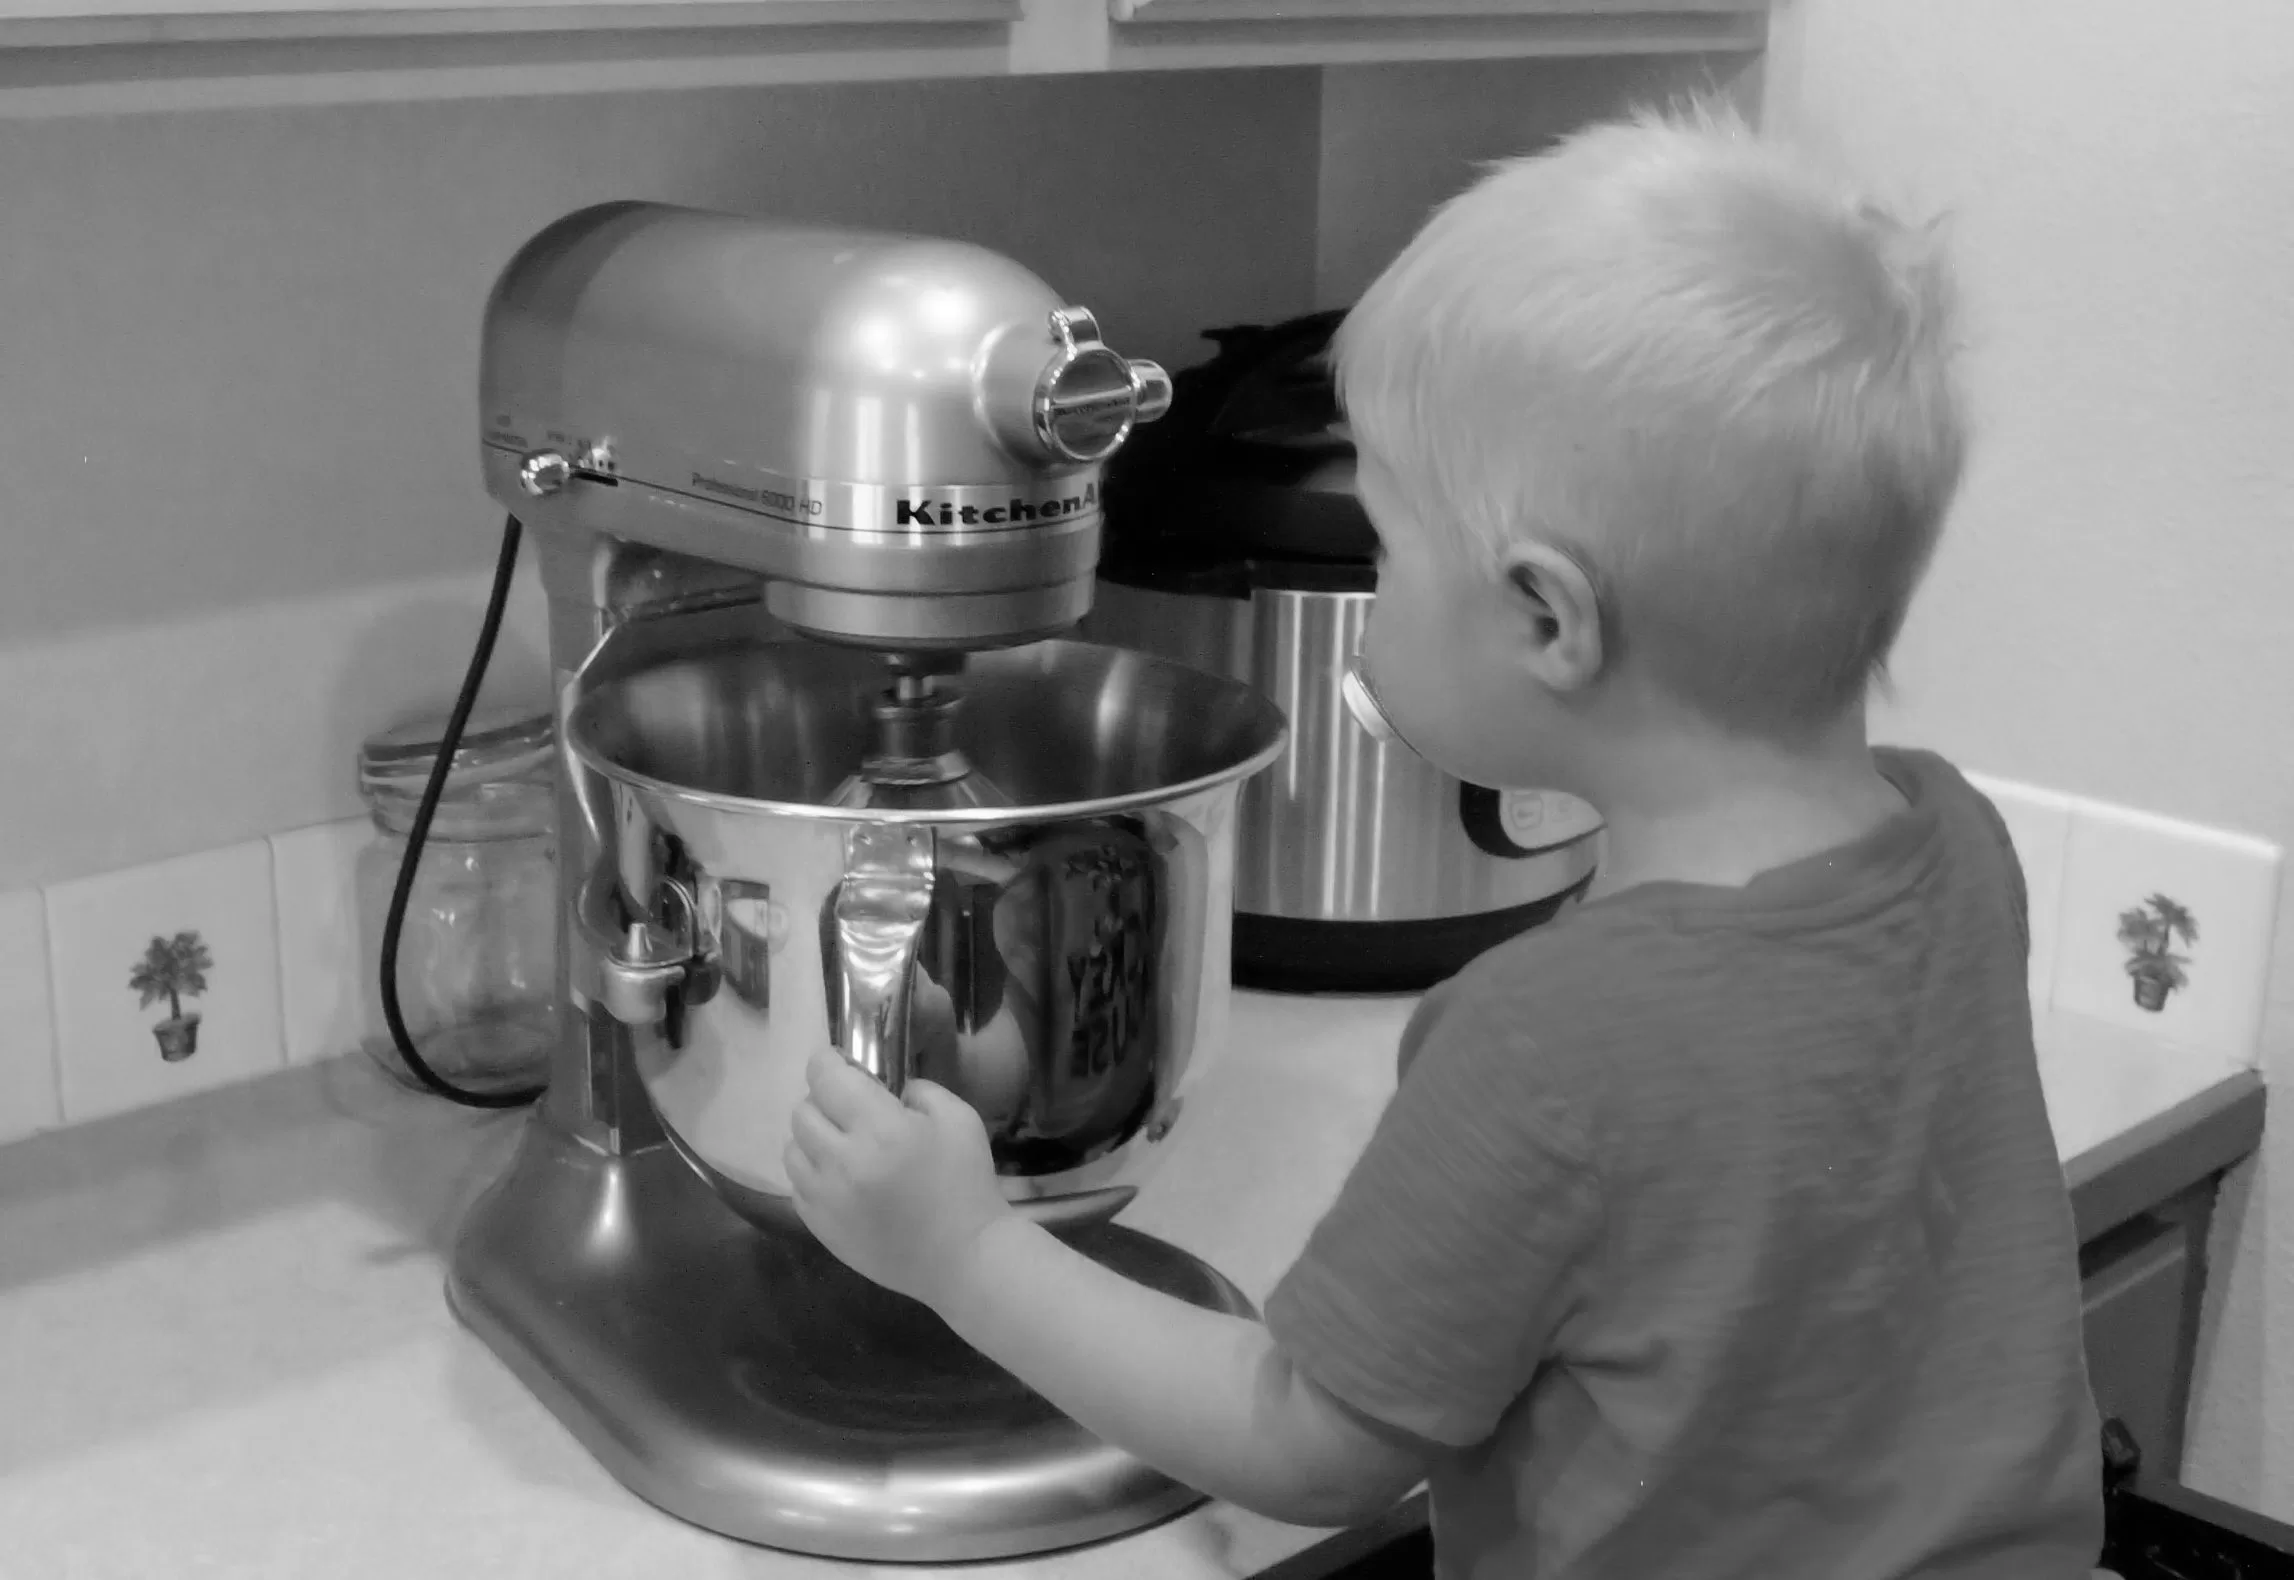
Tip #4: Use Large Bowls
Now I don’t mean mixing bowls, but bowls or cups that are large enough to easily dip the eggs. Don’t use the kid cups or bowls that are in the cupboard. I use my larger cereal bowls or oversized mugs and they seem to work really well. They are large enough that toddlers can easily get the eggs in and out, but not too large that you have an abundance of dye.

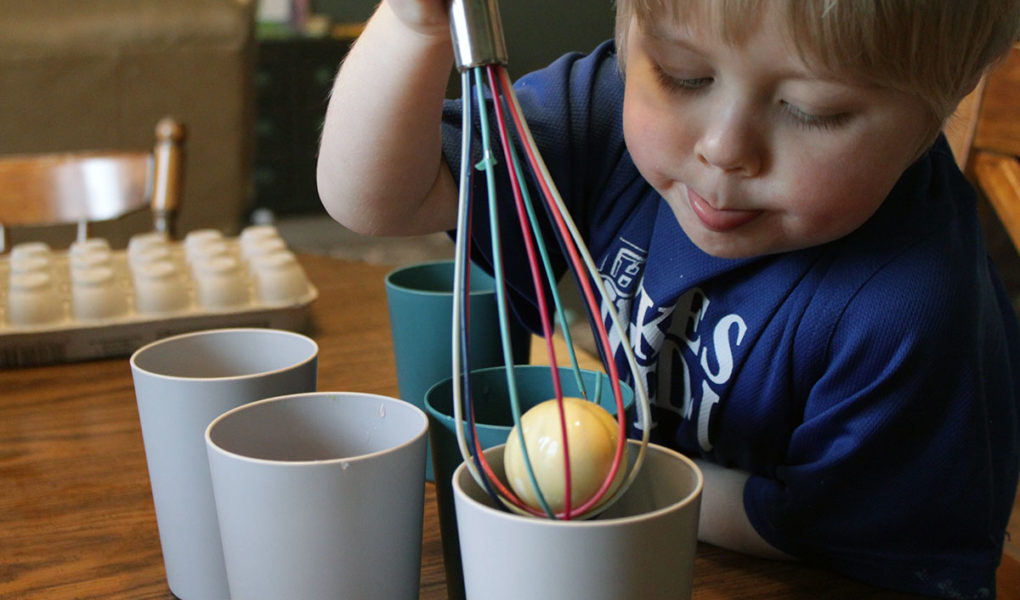
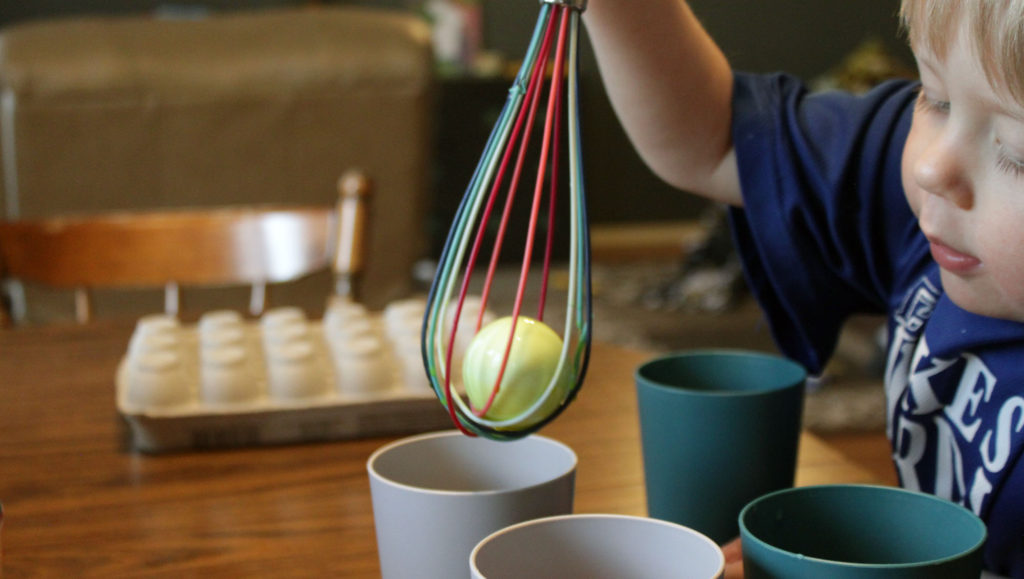
Tip #5: Use a Whisk
I’m not sure where I first saw this tip, but it is a GAME-CHANGER. Place the egg inside of the whisk and your toddler can lift the egg in and out of the bowl himself. The egg isn’t going to come loose and go flying across the room or break. The whisk keeps it nice and secure. You also avoid little hands reaching into the bowl to grab the eggs, slightly minimizing dyed fingers

Tip #6: Keep it Simple
Now is not the time to experiment with new and complicated egg dying techniques. Dying Easter eggs with toddlers is not the time to try out new patterns and all those fancy schmancy designs you find on Pinterest. Now IS the time to dip eggs into single colors and let the kids experiment. As they get older you can try out new and creative things, but toddlerhood is not this time. Just come to terms with it being okay to be simple.
Tip #7: Use the Egg Carton for Drying
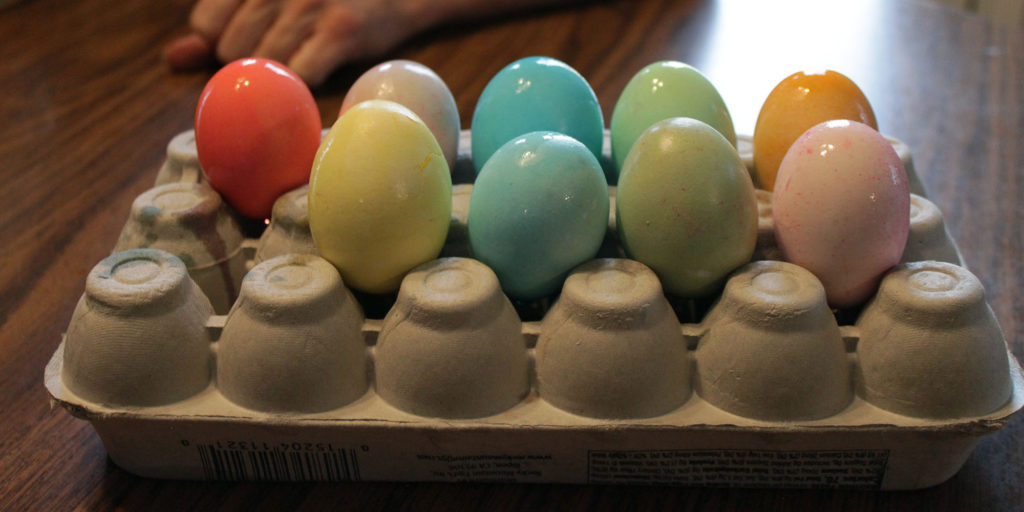
It’s no new revelation that eggs cartons were designed for eggs. So why not use them as such and put the eggs right back into them after they are dyed. You may end up with a little darker color on the bottom where the dye settles, you might have a few lighter spots where the eggs touch the sides. But you know what? Toddlers don’t care! They will be happy no matter how the eggs turn out. So get over your perfectionism and just put the eggs back in the carton, it will be so much less messy and will save you have a hidden egg rotting somewhere in your house. (Ok, ok, that may be a bit of an exaggeration, but just put the eggs away once they are dyed).
Tip #8: Have Fun
When all is said and done, the whole point of the activity is to have fun. So make sure that you do just that. Once everything is set up and protected, let your toddler take the lead. Let them use their imagination with what you have presented. Your part is to sit back and take in their wonderment as they create.
I hope these tips will help you have a more positive experience dying Easter eggs with toddlers. Let me know how it goes and if you have found any other cool tips or tricks.
For more Easter egg fun check out my post 10 Creative Ways to Dye Easter Eggs with your Toddler.